12 time-savers to speed up your workflow in Readymag
Save your time: explore our 12 easy tips on how to design in Readymag swiftly and effortlessly.
We believe that it should be possible for your ideas and experiments to come alive quickly and easily. To help our users, the Readymag team is rolling out a selection of time-saving tips and hints. We guarantee they will speed up your process once you get the hang of them.
1. Keep shortcuts near at hand
Discover handy shortcuts with the help of this infographic popup, always accessible from the Help Menu in the Editor.
2. Drag widgets simultaneously
On long pages, dragging a group of widgets can be tedious. But there is a way to do it faster: click on a widget, hold the tiny green triangle icon that appears over the bounding box and drag the widget up or down — this binds together all widgets below, so you can drag them all at once. Alternatively, instead of the green icon hold the V or F key and drag.
3. Resize several widgets as a group
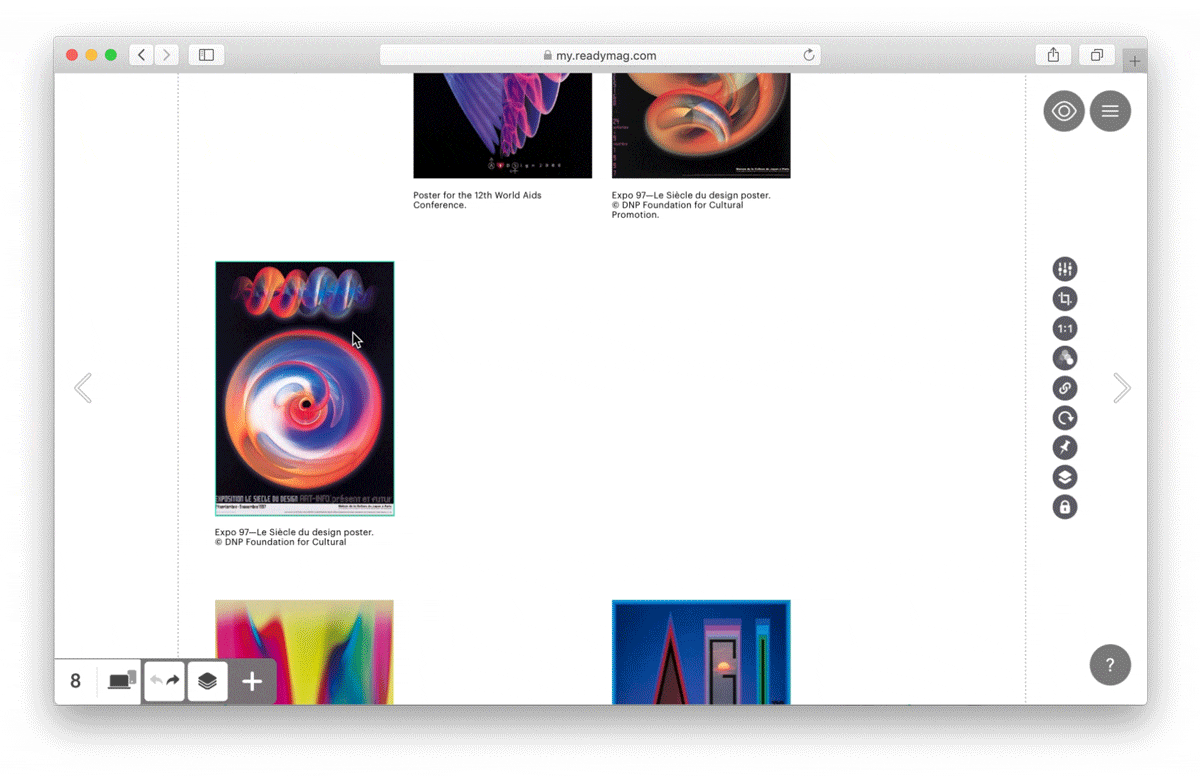
If you need to resize several widgets simultaneously, select them (click outside of a widget, hold the click and drag it to draw a selection frame, or just click and hold the Shift key) and scale as one whole item. The proportions of the widgets will remain unaffected.
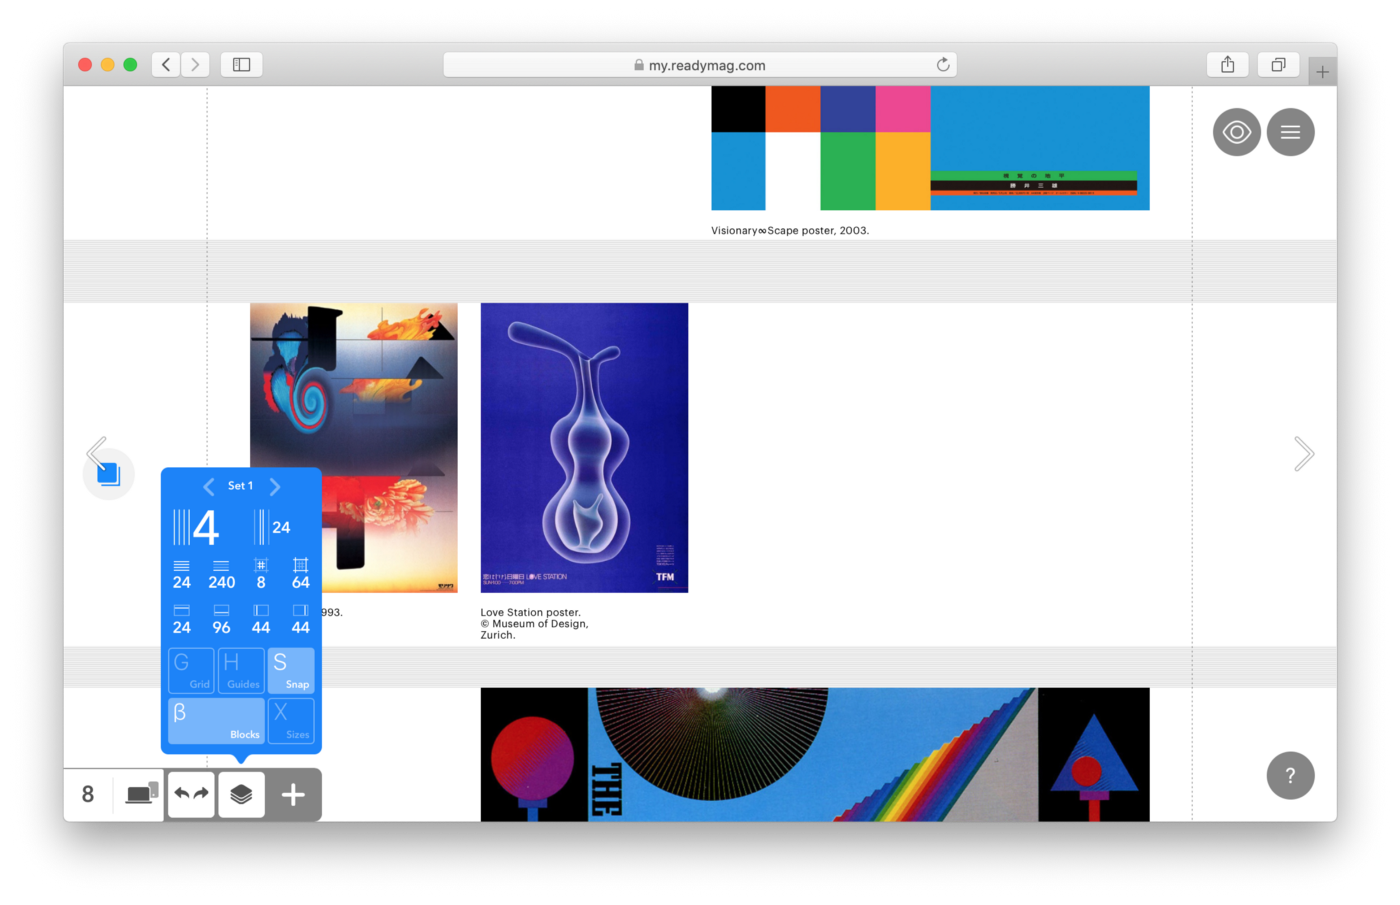
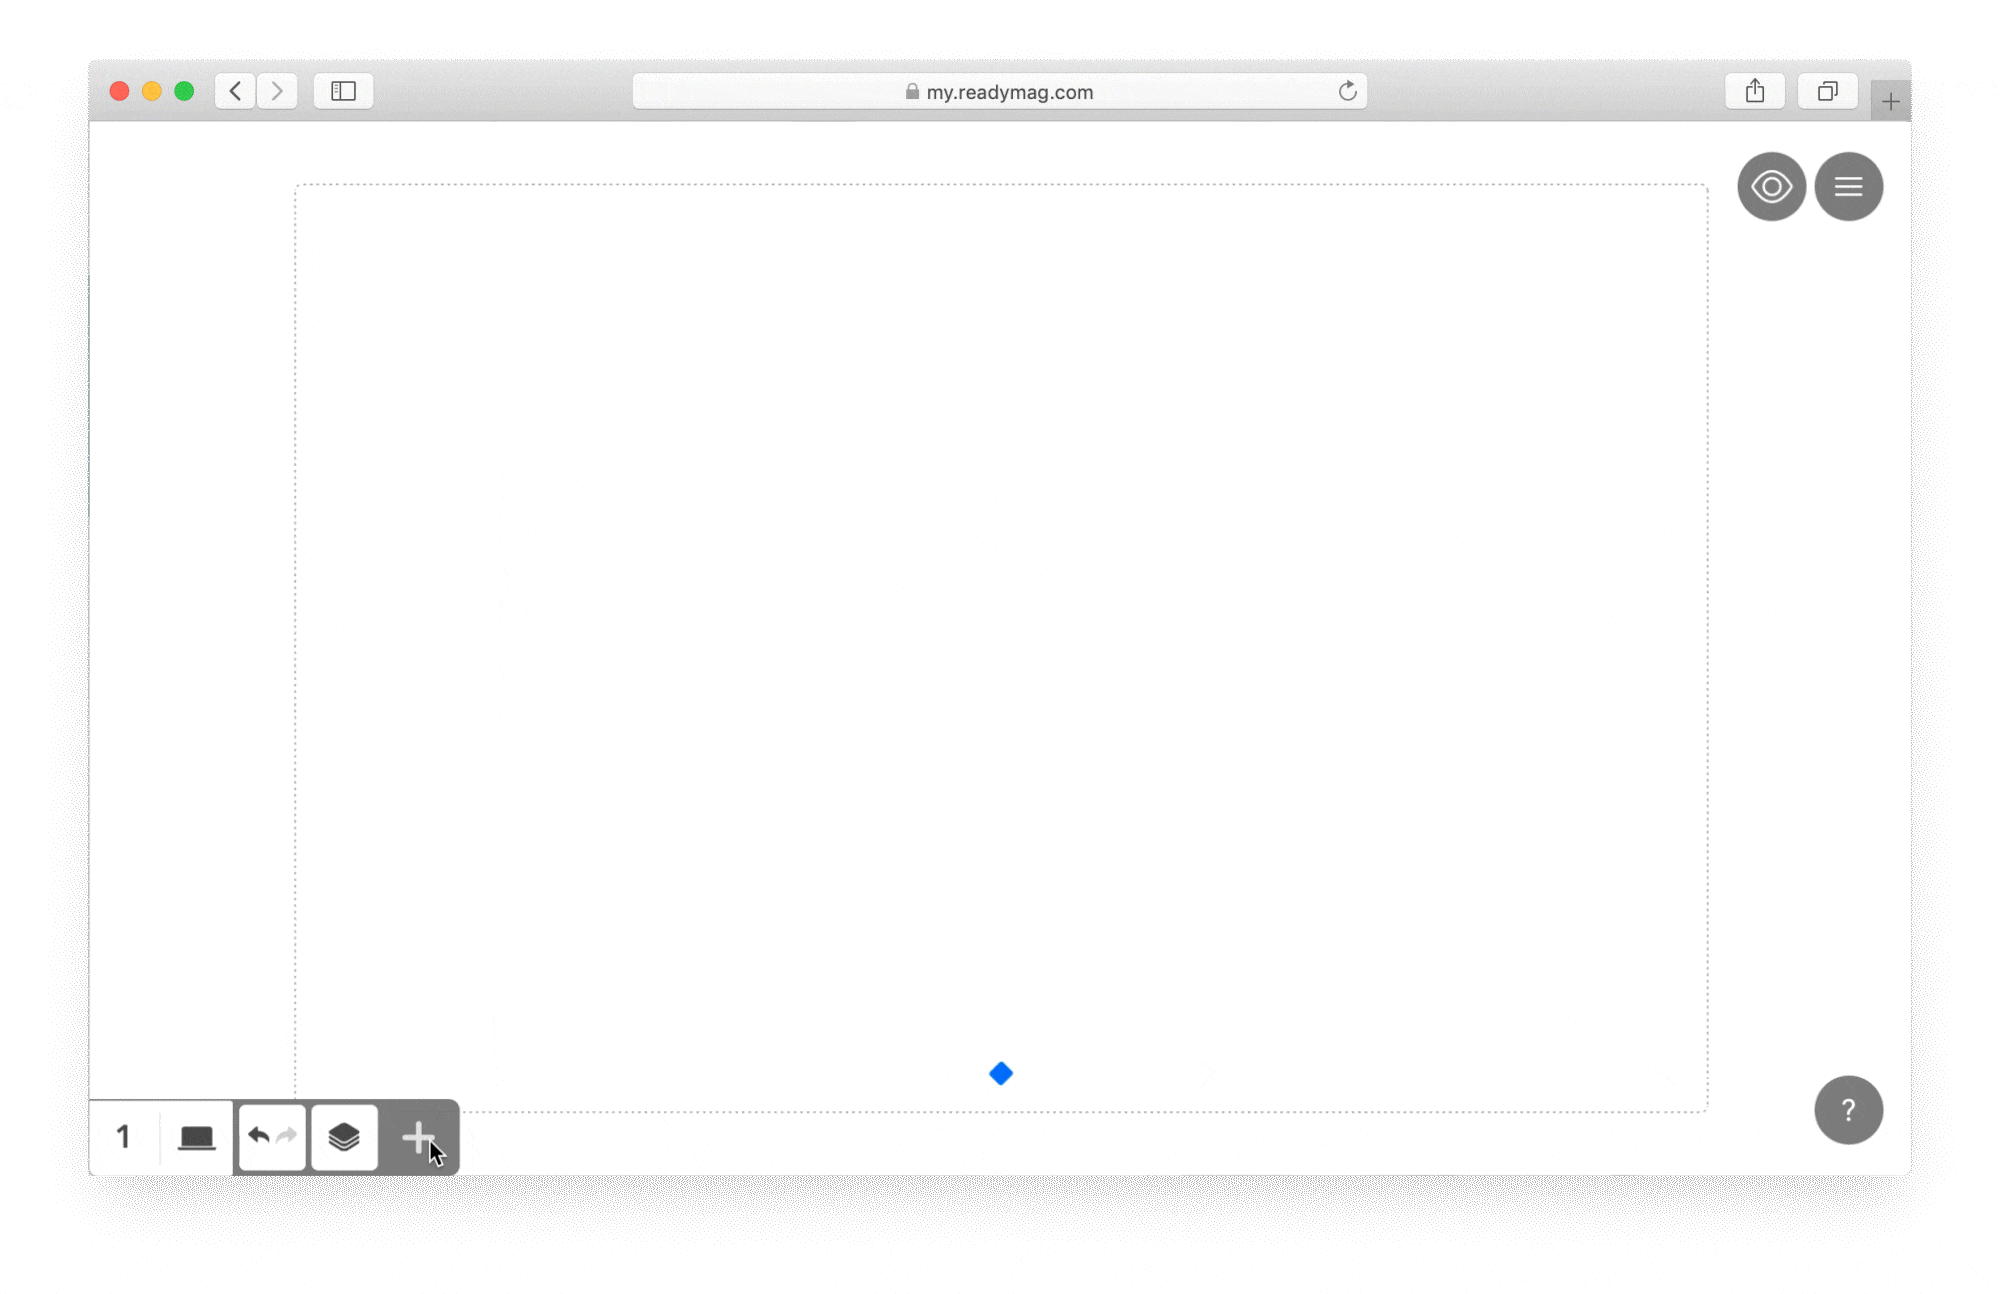
4. Work separately on different parts of the layout
If you need to introduce changes to separate parts of your content without affecting the whole layout, activate Blocks mode in the Grids & Guides panel. When it’s on, all widgets will automatically divide into groups separated by ‘spacers’ (empty gaps in between). Change the height of each spacer by adjusting from the bottom edge, or all of them at once using Shift key. Revisions in one block won’t affect the rest of your content.
5. Make a widget appear on every page with one click
With a single click, make any widget Global: it will appear on every single page or above all project pages. Edit the widget on any page and the change will sync across pages.
6. Copy & paste widget animation settings
Use Shift+Cmd+C/V to copy animation settings from one widget to another (whether it’s a desktop or mobile).
7. Create a square Shape widget easily
To create a square quickly, add a circle Shape widget and then change it into a rectangle — voila, you did it. Alternatively, you can set the parameters manually (bring up widgets’ sizes in the Grid & Guides panel).
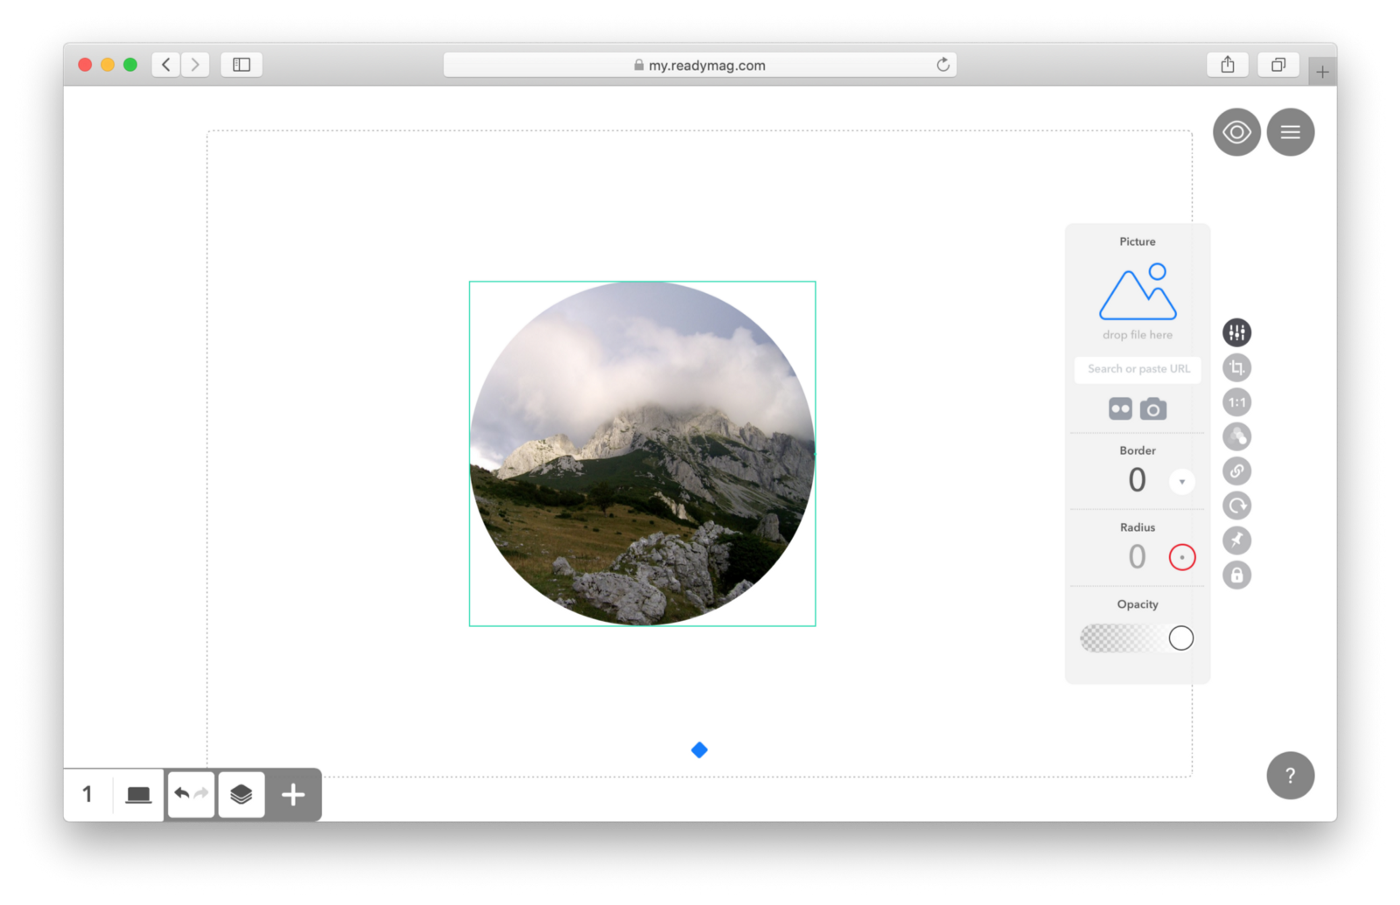
8. Make picture round
Just click on the picture widget, go to the controls and make the picture square using crop. Then go to the picture settings, choose radius and click the center of the round icon.
9. Apply text styles
In Readymag, text style is a premade set of character formatting attributes, such as font and size, that can be applied to text in one step. Creating text styles keeps your work consistent and saves time. To add a text style, double-click on the desired Text widget, access the text edit mode, and choose the top star icon. Double-click on a style’s title and use Edit Style to change Font Size, Color, Line Height, and Tracking, as well as set indents using Margins control. Click Save to apply any changes.
Click beside a style’s title, and use Edit Style to change Font Size, Color, Line Height, and Tracking for your style, as well as set indents using Margins control. Click Save to apply any changes.
10. Choose free hi-res photos right from the interface
Readymag also integrates visual content from the Unspalsh photo community — thousands of their curated, high resolution and copyright-free photographs are included with our Picture and Background widgets.
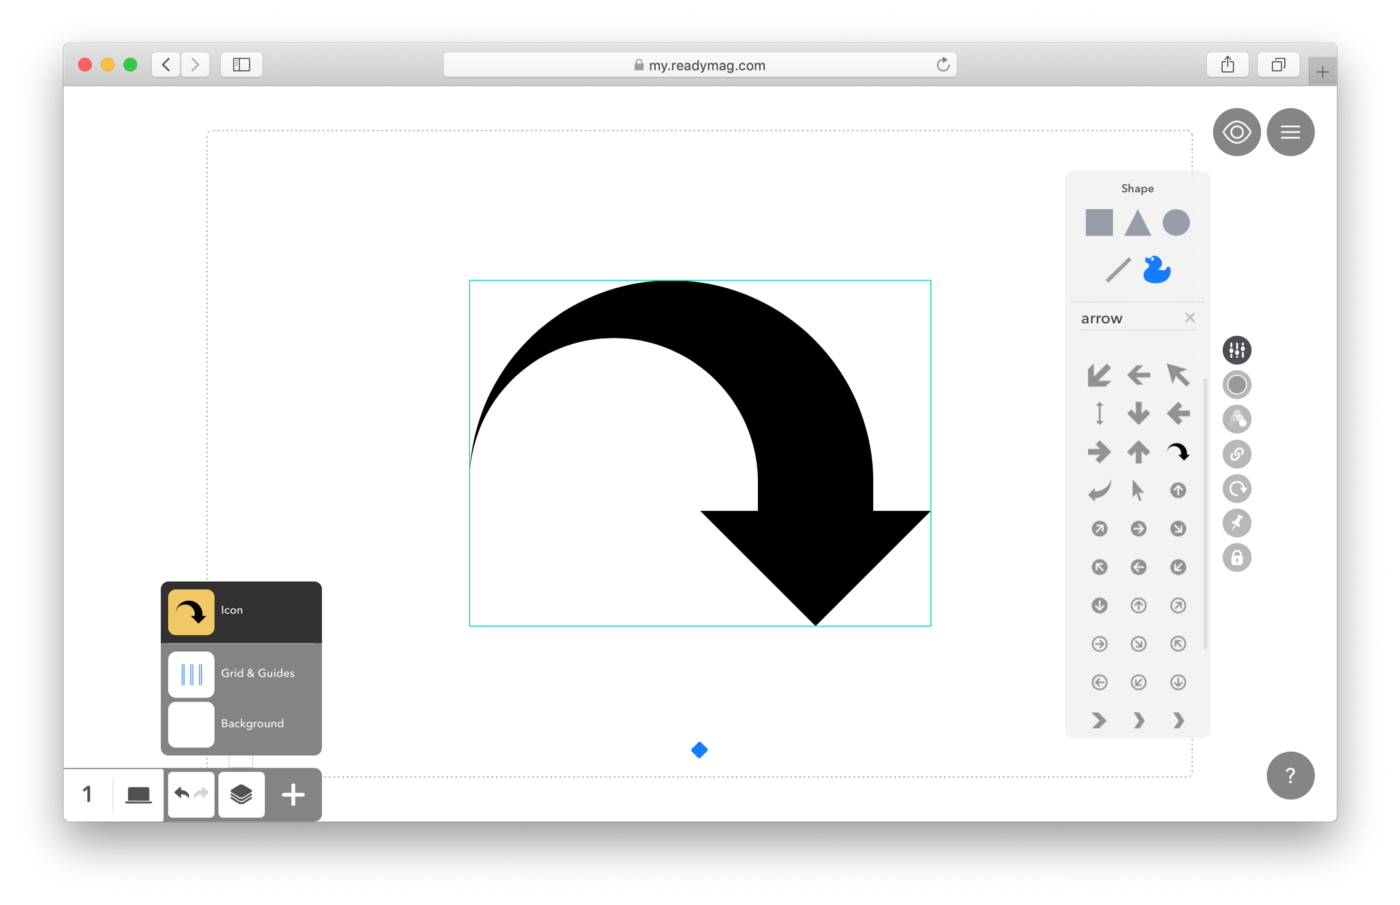
11. Pick free icons
Thinking about icons for your project? No need to draw by hand or even look outside Readymag — you’ll find more than 100,000 icons from The Noun Project already integrated into our Shapes widget.
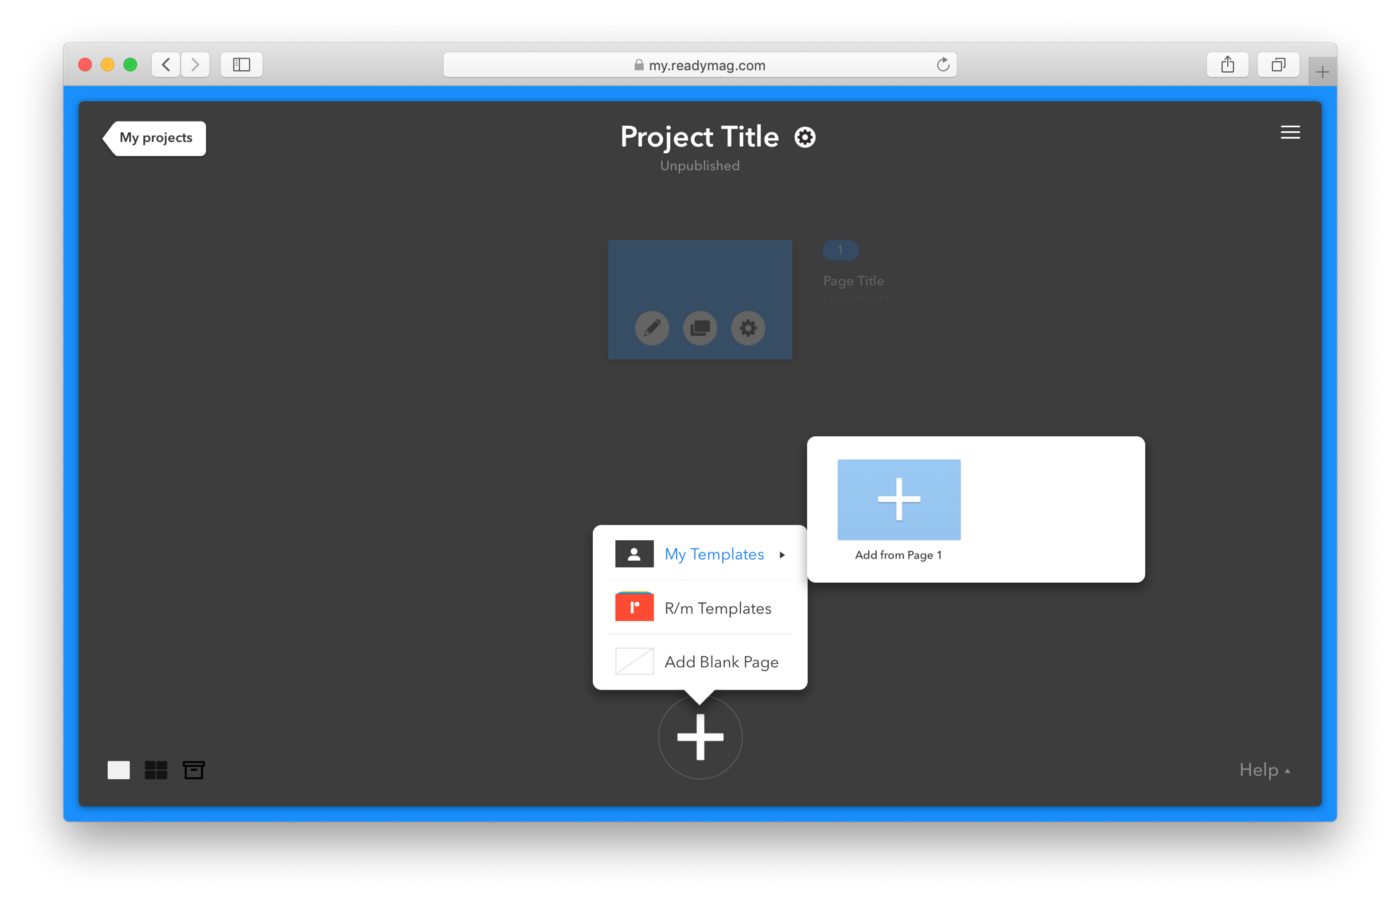
12. Make templates from pages
Making a template out of a page can be very useful: for instance, when working on a presentation, magazine or any other kind of publication that requires a repetitive layout. In Readymag, you can save any page from your project as a template. Saved templates will appear in your My Templates collection, accessible through the Add Page menu in all your projects.
We’ve also got some tutorials on Youtube to help you boost your Readymag skills.
Don’t hesitate to address your questions regarding Readymag to our support team at [email protected].
Note: some of the screenshots and videos in this post reference our old user interface, so the current Readymag workflow may not look identical.
Love this story? Explore other pieces from Readymag.