Step-by-step guide to Readymag code export
If you need to self-host your project, you can simply export the code from Readymag and reassemble it at its new online home. Below we explain how.
Users typically export their projects when:
- The project contains confidential information and the project creators want to make sure they maintain full control over it;
- Company rules oblige the project owner to store the data solely on their own servers;
- There are issues with Amazon servers in the country where the project creator resides (as Readymag keeps its data on Amazon Web Services or AWS);
- The project is created for a customer who wants to receive the code at the end.
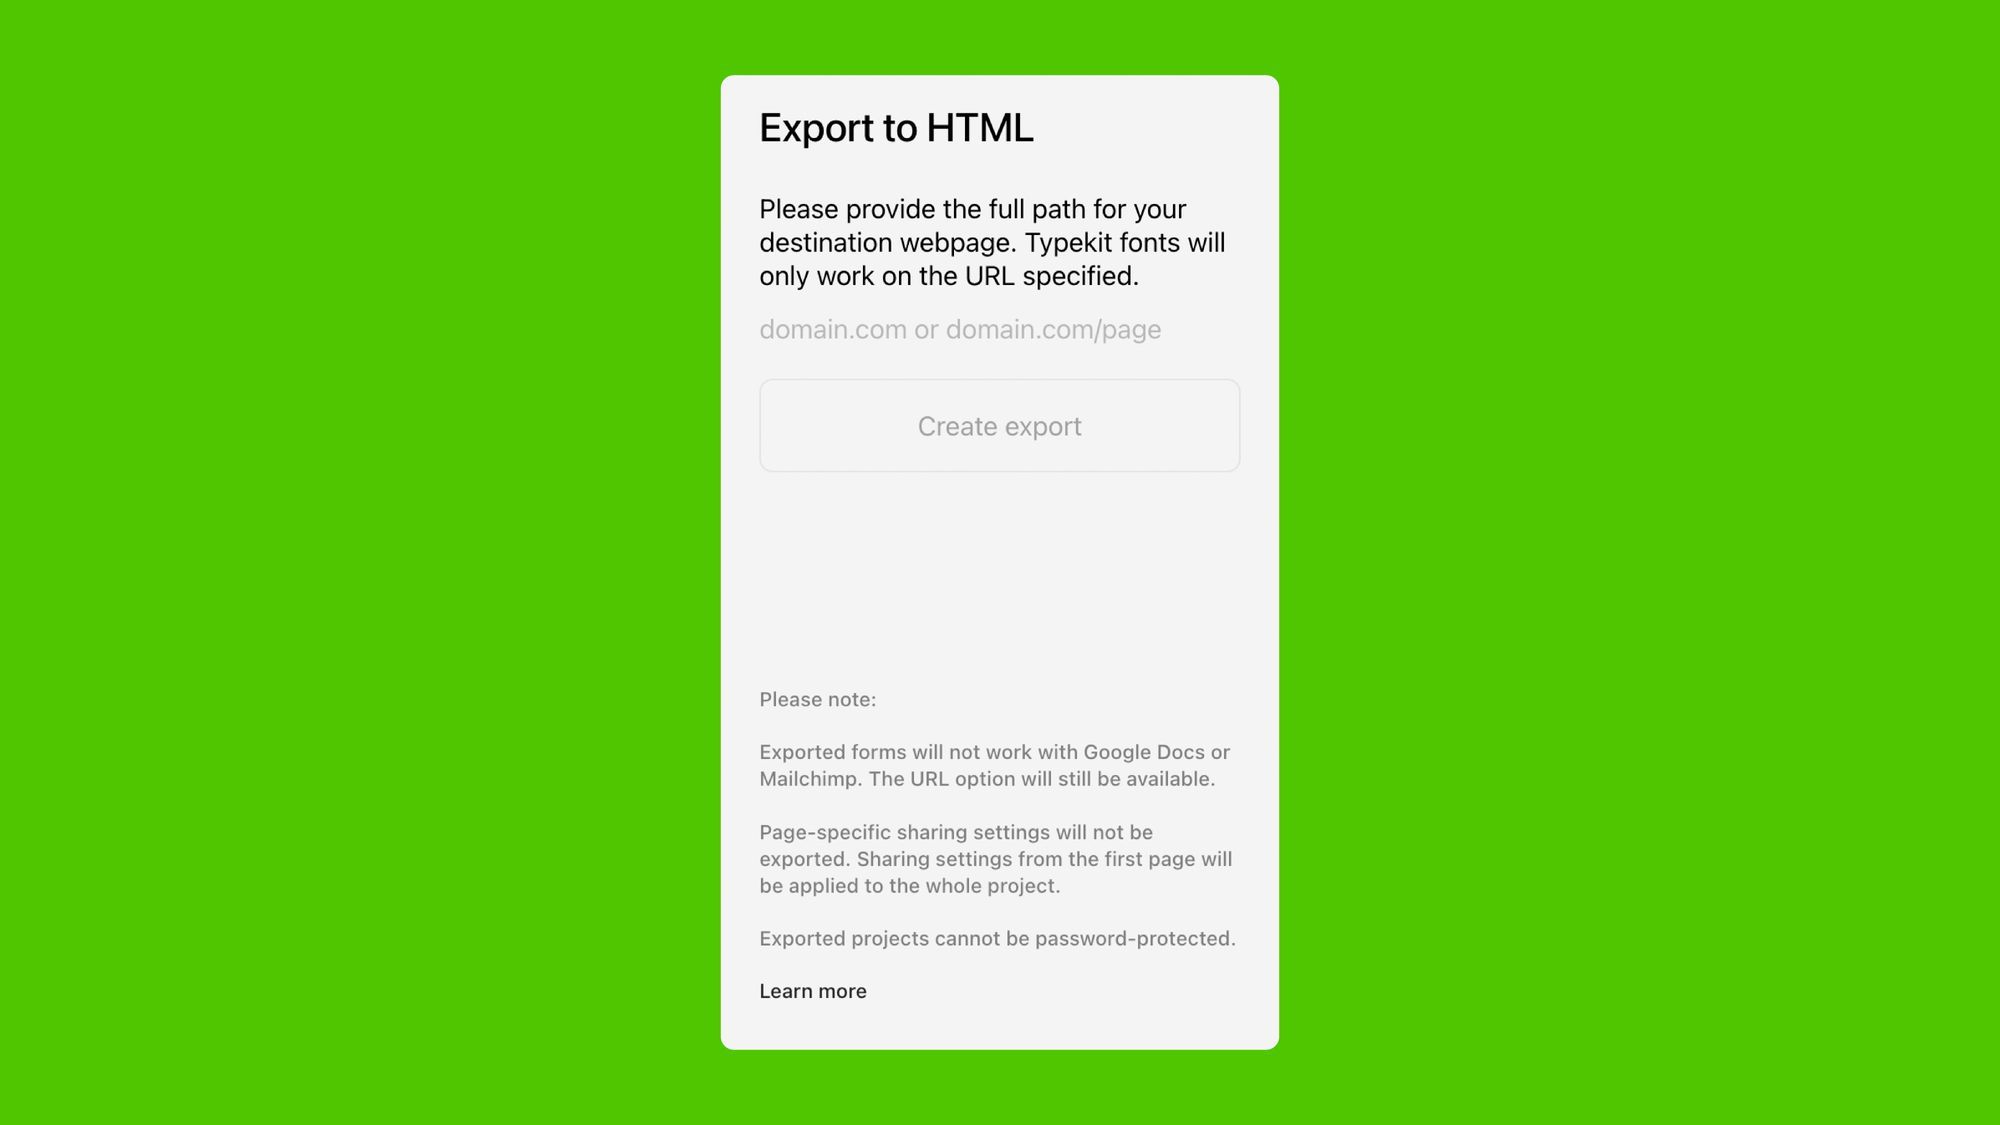
The Code export option is available with Professional and relevant Custom plans. When you export a project, you’ll be required to provide a new domain name and a full URL of the project.
The code export process requires three steps:
- Download the source code.
- Upload it to a remote server.
- Configure the server.
Below we explain each step.
Step 1: Download the source code
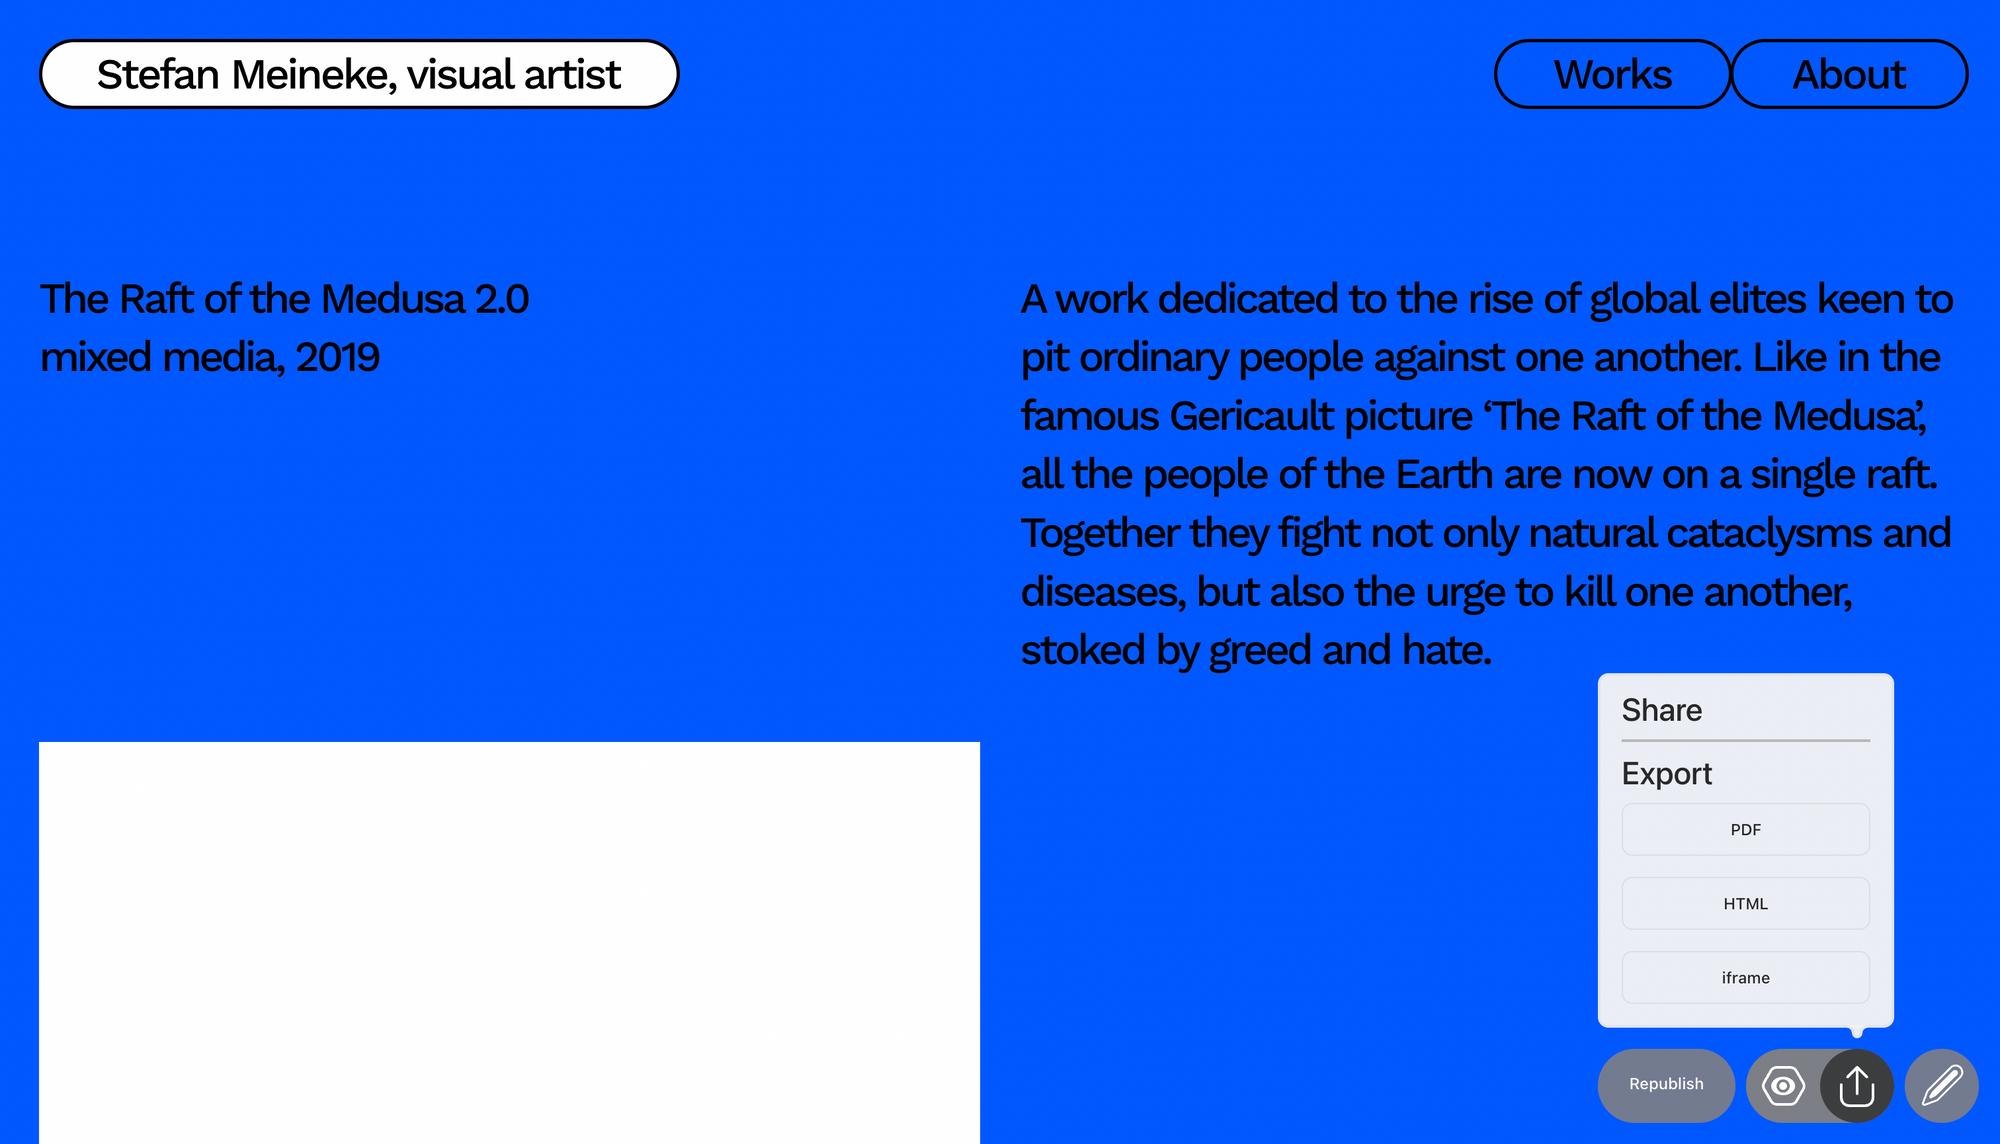
To access the source code you’ll first need to publish the project. A download link will then appear in the project settings.
Then, you must specify the new domain and a full URL of the project. This is necessary for the sustained functioning of third-party integrations (such as Typekit web fonts).
Step 2: Upload the archive to a remote server
In the downloaded archive you’ll find the following files and folders:
robots.txt (pre-defined settings for web crawlers);
build (stylesheets, templates, and scripts);
img (all images used in the project);
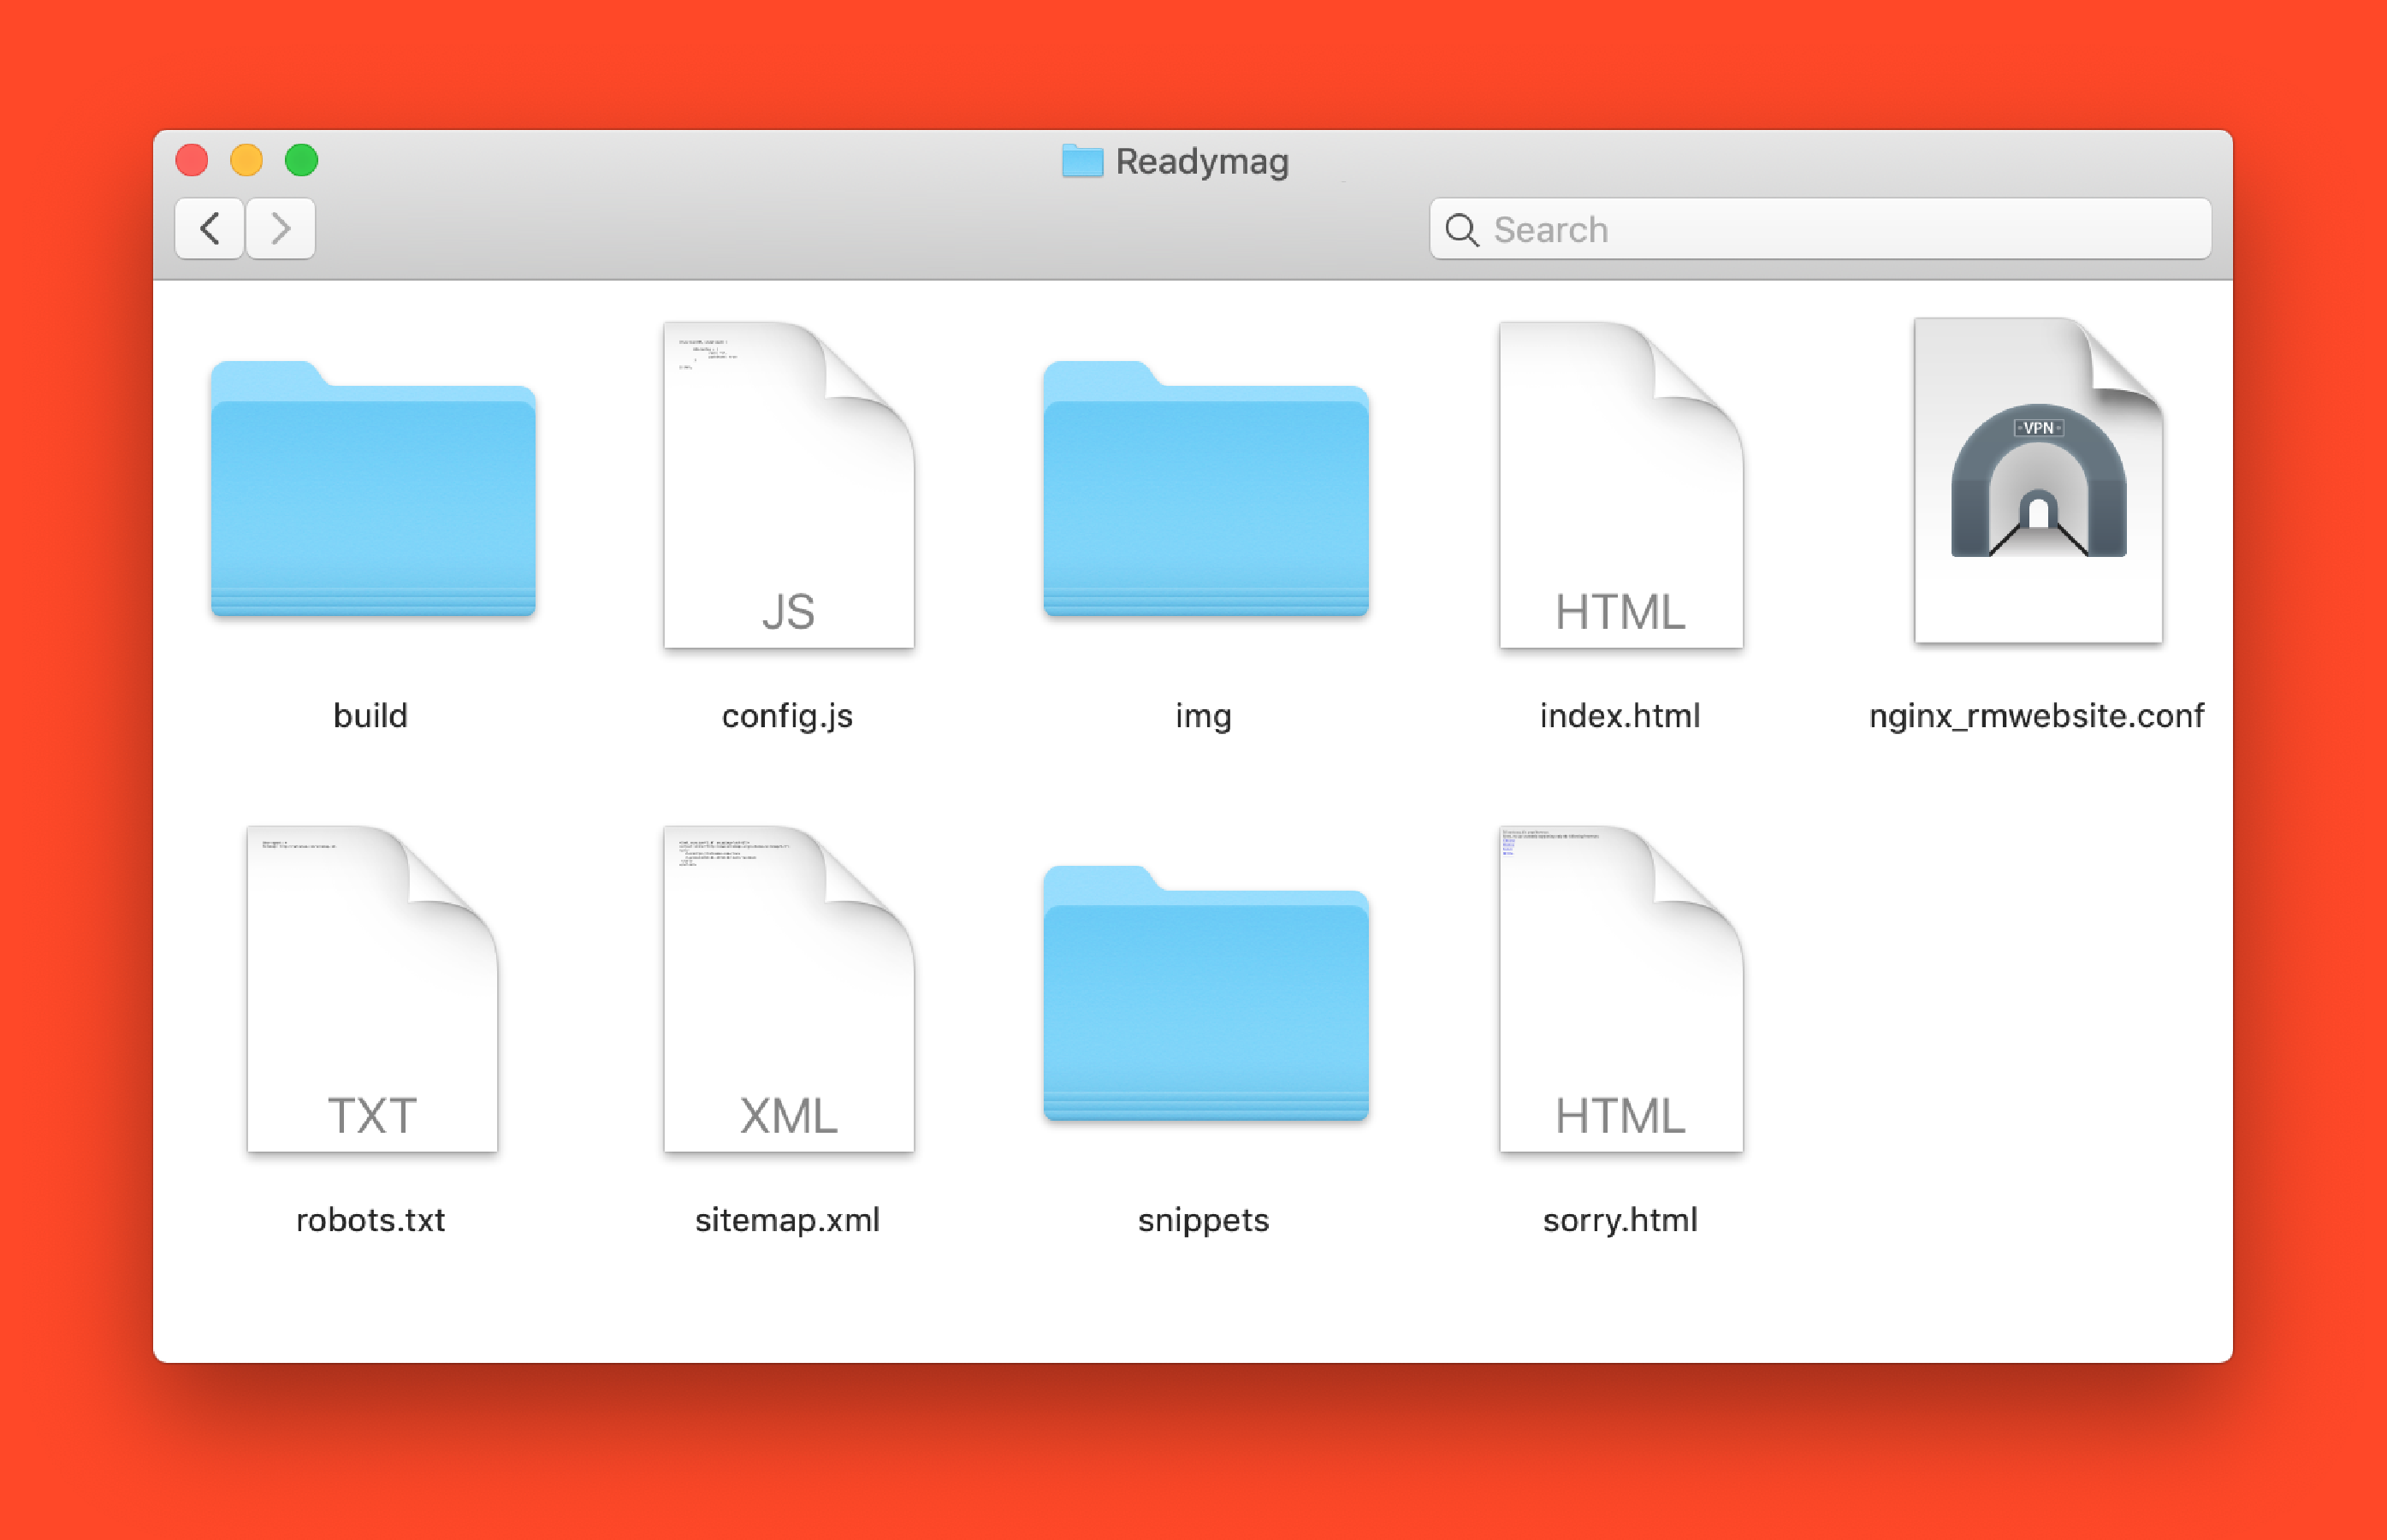
snippets (static contents of all pages for search crawlers);
index.html (project page, contains the content of the project encoded in JSON format);
sitemap.xml (list of available links for search crawlers);
sorry.html (custom page for unsupported browsers);
nginx_rmwebsite.conf (sample configuration file for NGINX servers);
.htaccess (sample configuration file for Apache servers; this file is hidden by default).
Step 3: Configure your server
If you don’t have access to your NGINX or Apache server, contact your hosting provider to configure the files according to the examples in our Help (see Step 3 there). Without configuring the server properly, the project won’t work, even if you’ve uploaded all of the required files.
If you host your website on an Apache server, chances are the .htaccess configuration will take effect automatically. Make sure you uploaded the .htaccess from the exported archive to your web server: on MacOS, .htaccess is hidden. If the .htaccess configuration does not work (typical symptom: pages other than first return 404 on refresh), ask your hosting provider to enable .htaccess.
If you host your website on your own NGINX server, you can either copy and paste nginx_rmwebsite.conf contents into your main nginx.conf or include nginx_rmwebsite.conf into nginx.conf with an “include” directive. If the NGINX you host on is not your own, ask your hosting provider to apply the configuration from nginx_rmwebsite.conf for you.
Code export limitations
Please take note of the following limitations:
- Readymag Form widget can only send data to a custom URL. Google Docs, email and Mailchimp options will not work for exported projects.
- Custom OG tags and SEO tags are not exported for any page except the first one (meta tags stored in index.html).
- Exported projects cannot be changed, and by default, they don’t look like an HTML file. The content is encoded in JSON format and rendered on a page via JavaScript. If you need to make alterations, find the project in your Readymag account and, after making adjustments, republish the project and export it again.
You can always write to our support team at [email protected] if you have any questions.