Creating an online store in Readymag: a round-up of widgets & tools you need
Check out a handy list of tools you'll need to create your online store and our step-by-step explanations of how to use them.

It’s easy to start your own business online: in this piece, we offer some ideas for how to make an effective e-shop with Readymag and expand its functionality. We will explore both native widgets available with Creator and Professional plans, as well as third-party integrations.
Start listing your products with the E-commerce widget
You can easily create an e-shop with our E-commerce widget — it’s based on the Stripe API and allows payments with credit cards. First off, make sure that Stripe is supported in your country (here’s the full list to consult). If yes, read the instructions below. If not, you should skip ahead to the ‘third-party integrations’ paragraph for alternatives.
Preparatory step 1: creating account in Stripe & adding products
Start an own account with Stripe: the service will require your business details. We don’t charge any additional fees for the E-commerce widget but Stripe regulations do apply. Check out their pricing details here.
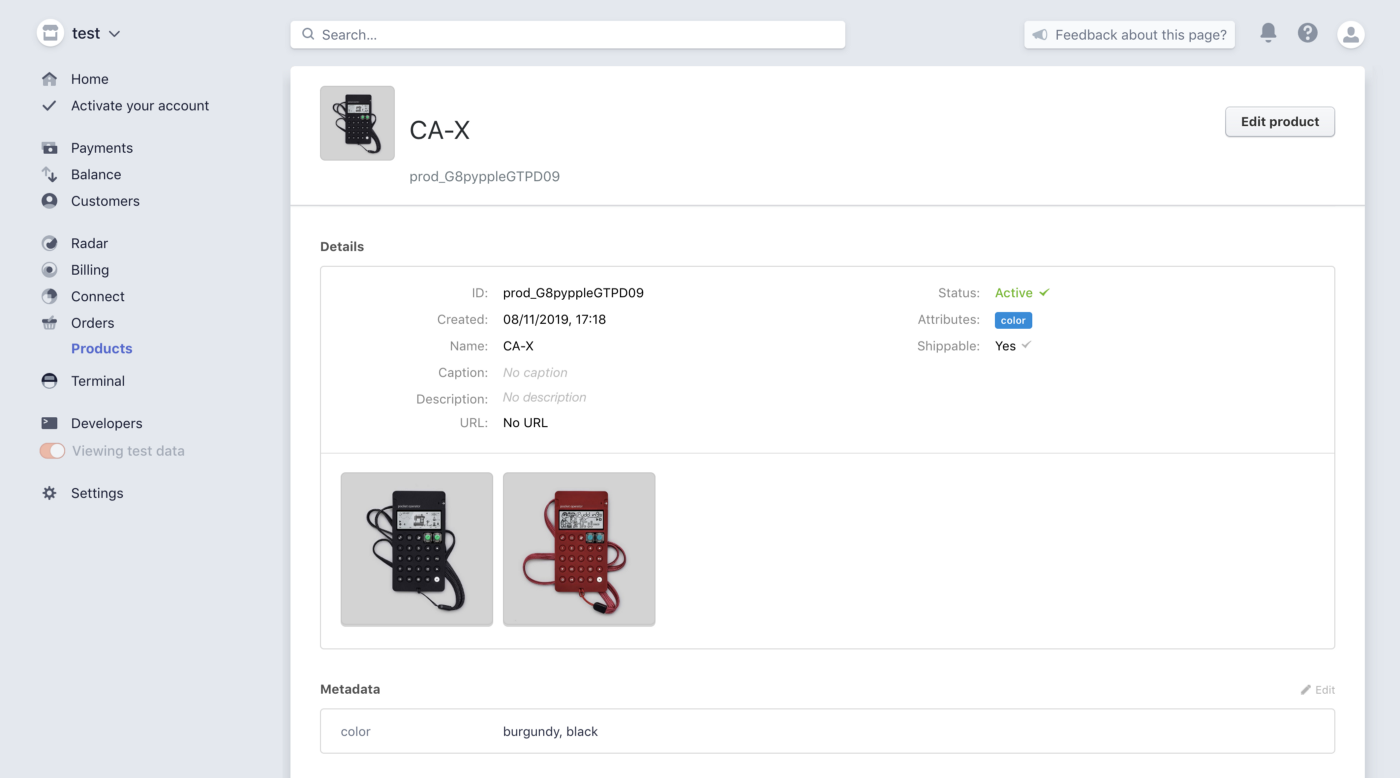
After you open an account, you can start adding your products to Stripe. Log in to your account, then select Orders → Products → Add new. Specify your product name, add a description and image, then select attributes like size and color. When configuring attributes in Stripe, we recommend setting a specific value rather than a general title. For example, you are selling a shirt that can be purchased in two colors: blue and red. Don’t use ‘color’ as a title for this attribute, simply enter ‘red’ and ‘blue’ in its fields. Click ‘Save product’ and you’re all set.
Preparatory step 2: enabling SSL
Switch to your Readymag project and enable an SSL certificate in the project settings — this step is mandatory because the E-commerce widget only works in secure projects.
Connecting Stripe account
After this, open the Editor and click E-commerce in the widget panel to create a new widget. You will see that it consists of two parts: a pop-up prompting you to connect to your Stripe account and a cart button. You’ll see Turn the switch on to be redirected to Stripe. Now Stripe is connected and you can get back to building your Readymag project.
Adding products & prices
Click + in the widget controls to add a new product. You’ll see a new ‘Add to cart’ button in your layout and a drop-down menu where you can select from the products you’ve added to Stripe. To add another product, click on the Cart again and then click + in the widget controls. To add an image for your product, upload via the Picture widget and position it above the Add to cart button.
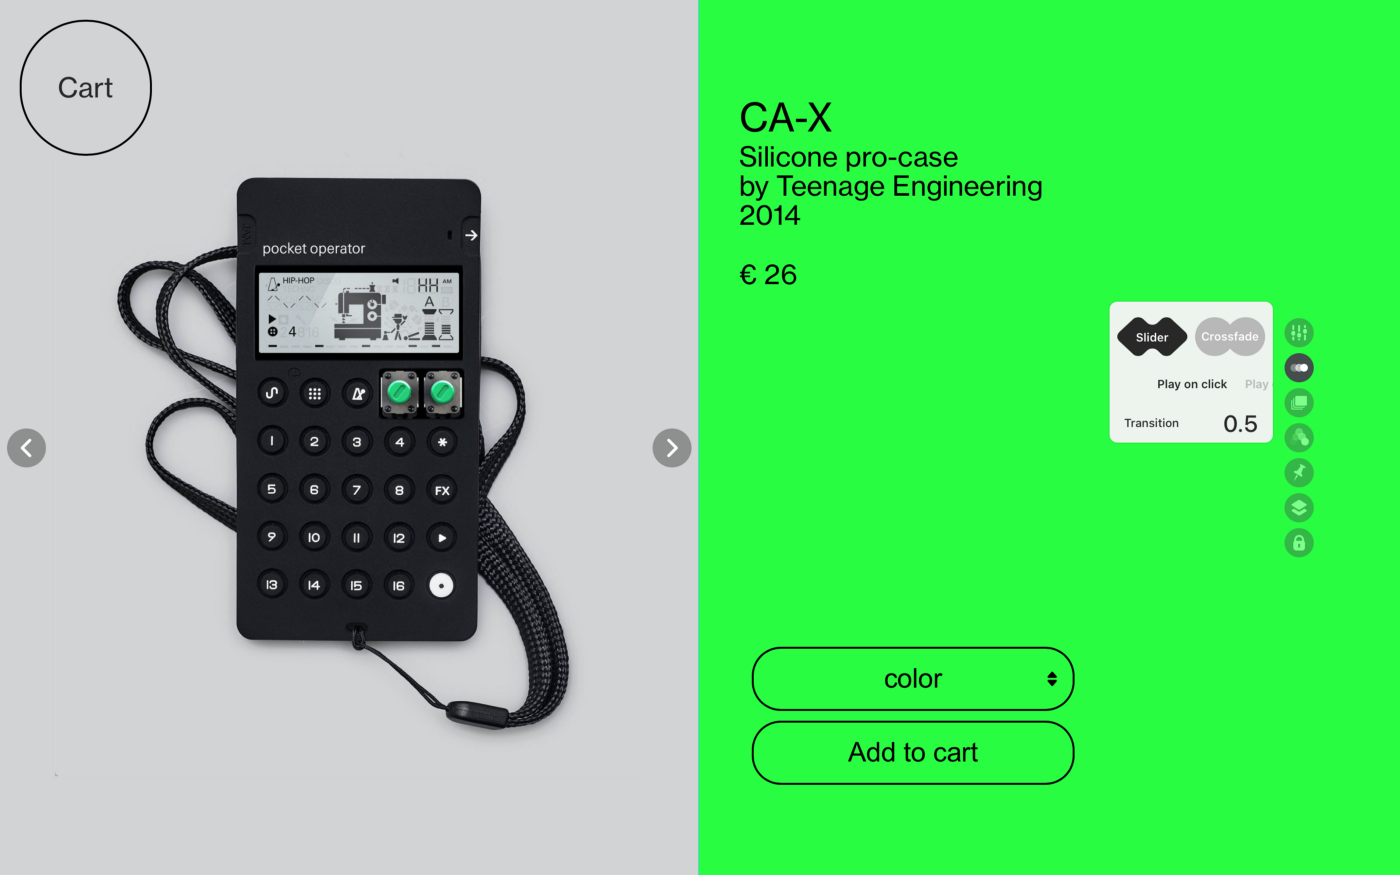
Also, consider experimenting with the Slideshow widget: with it, you can showcase your products from different angles and highlight valuable details. The appearance of the widget is fully-customizable, just click settings in the widget controls to make adjustments. You can change the appearance of navigation arrows or replace them with icons, add a dot counter for the number of slides, or make your slideshow fullscreen.
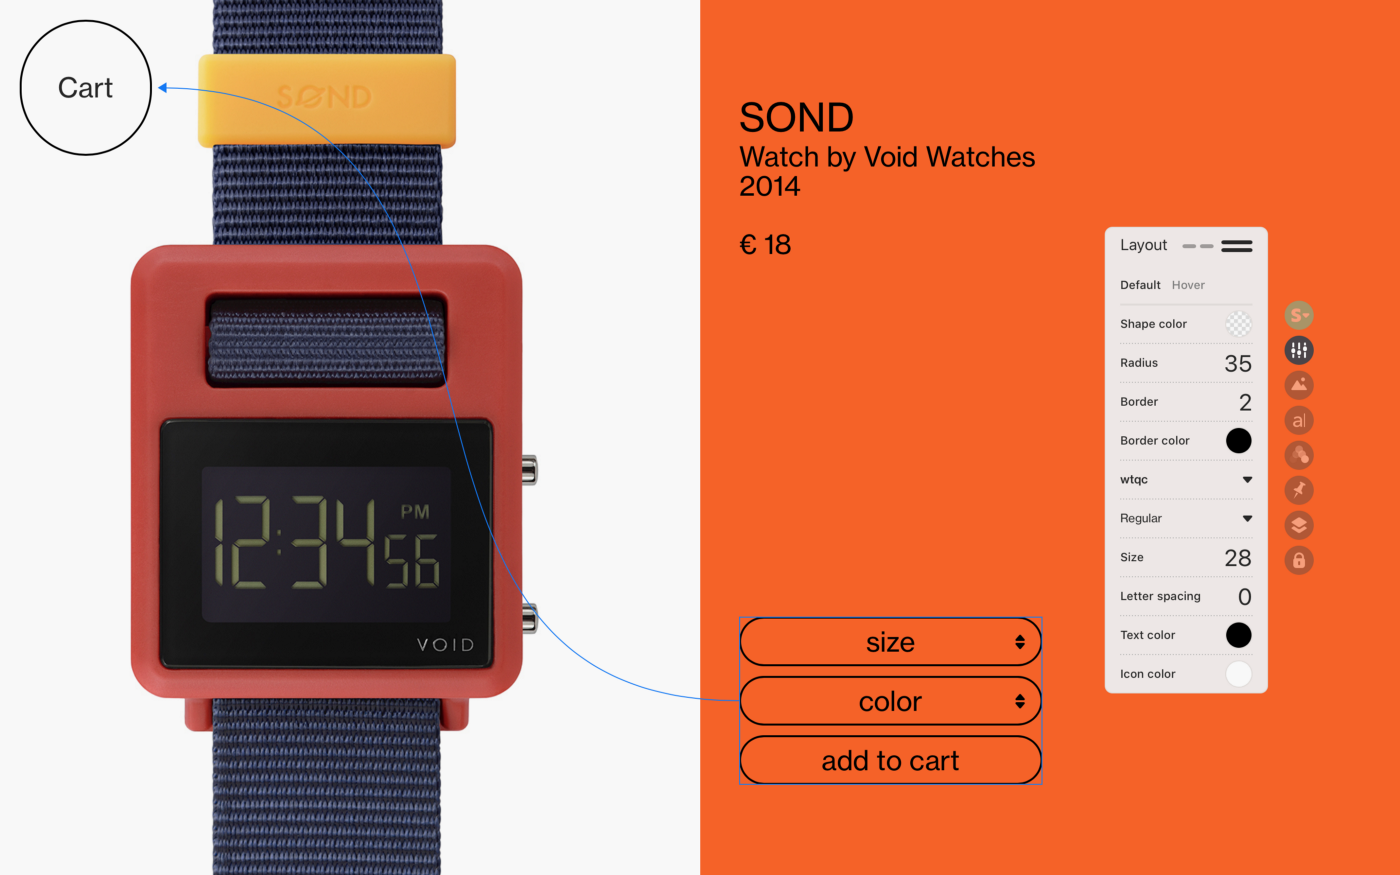
Prices can be added using the Text widget. If your product has other attributes like size or color, they will be shown as dropdown menus above the Add to cart button.
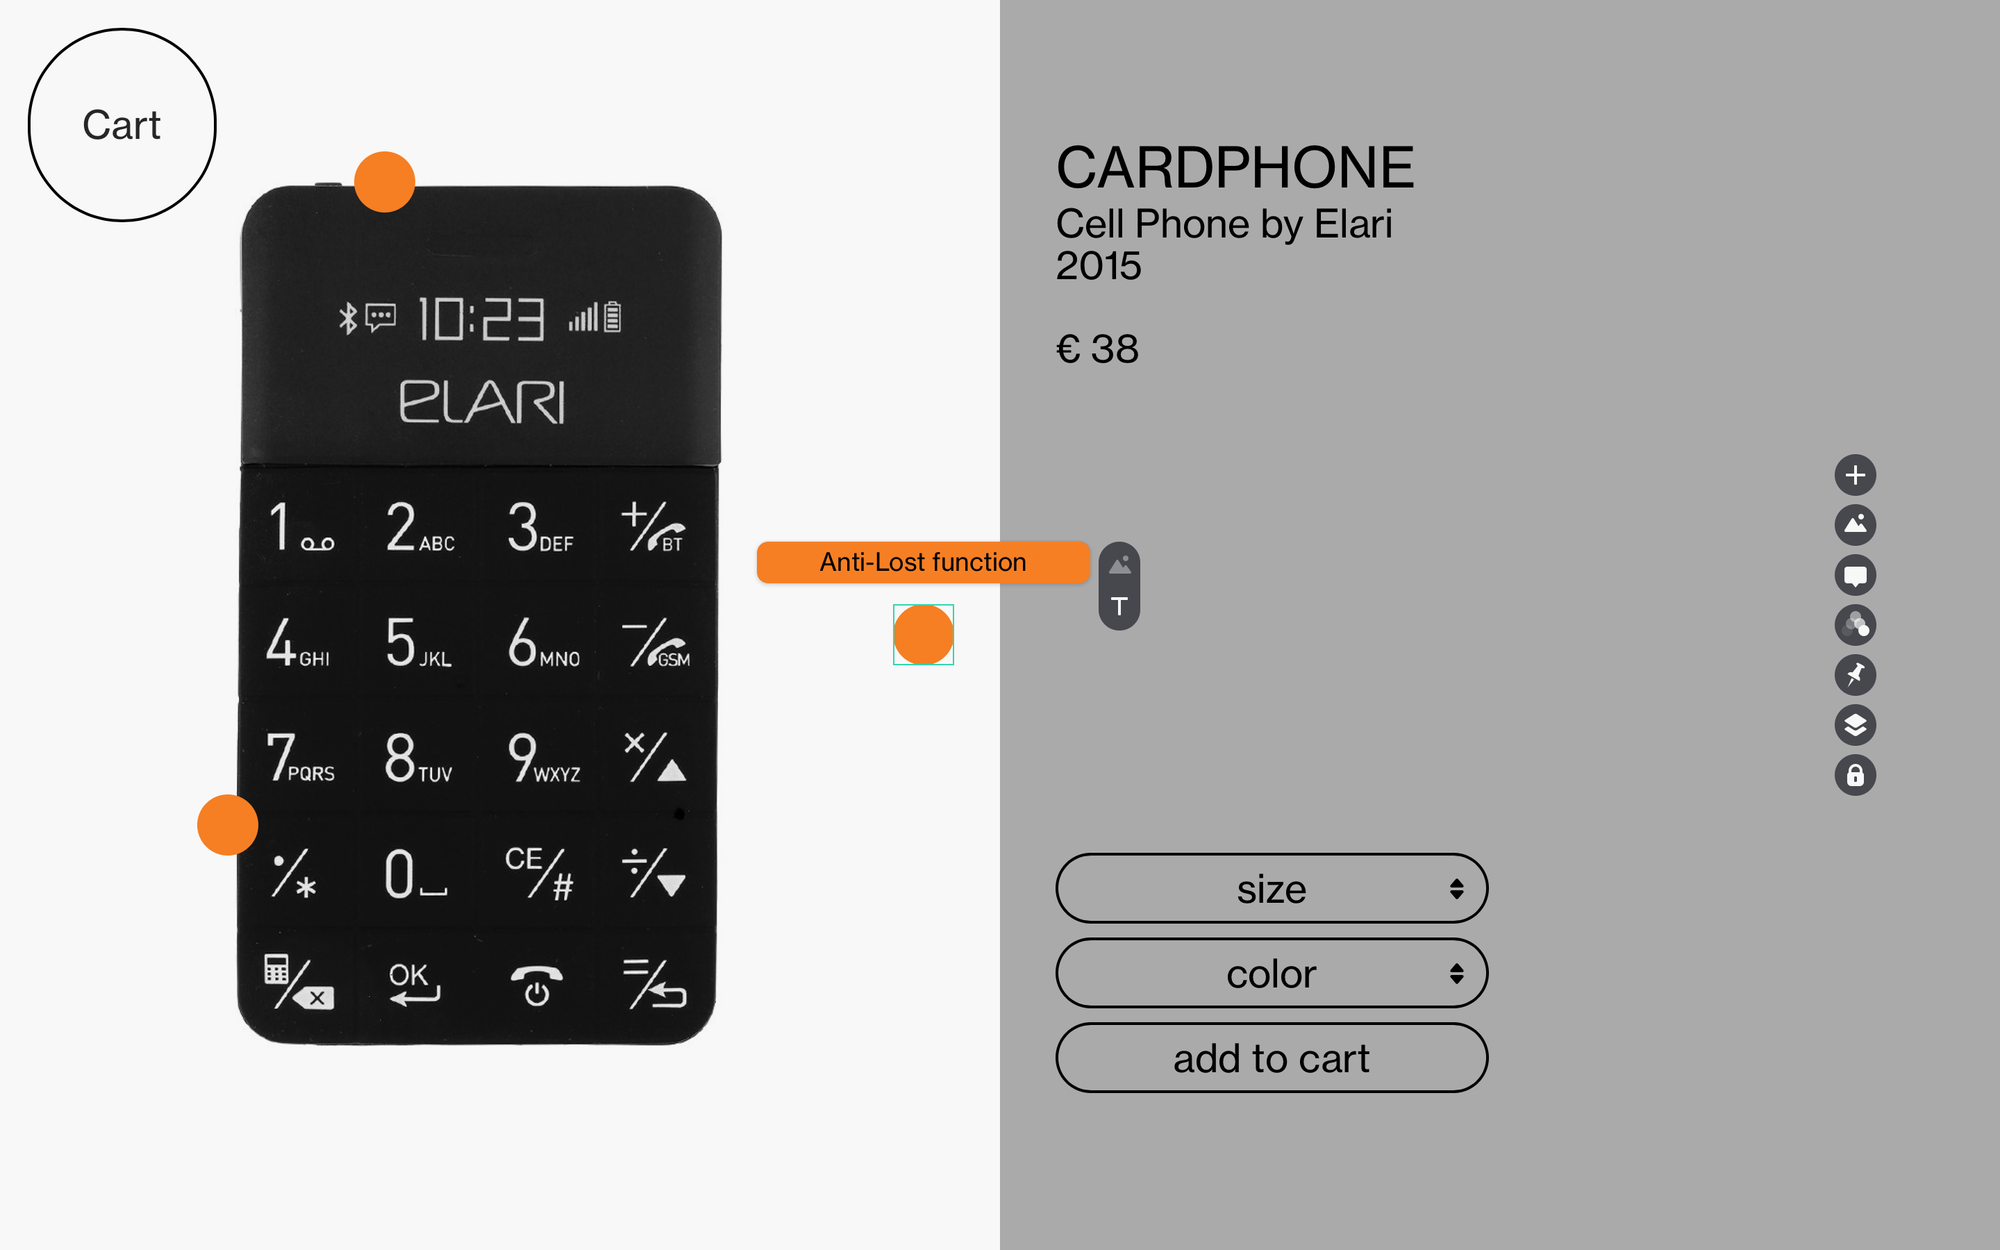
Also, consider the Hotspot widget — it allows you to make text notes and visual annotations directly to your project pages — be it a footnote, price tag, or description. Visitors will see them in a pop-up when they hover over the widget or click on it.
Third-party integrations: Shopify, Gumroad, Ecwid
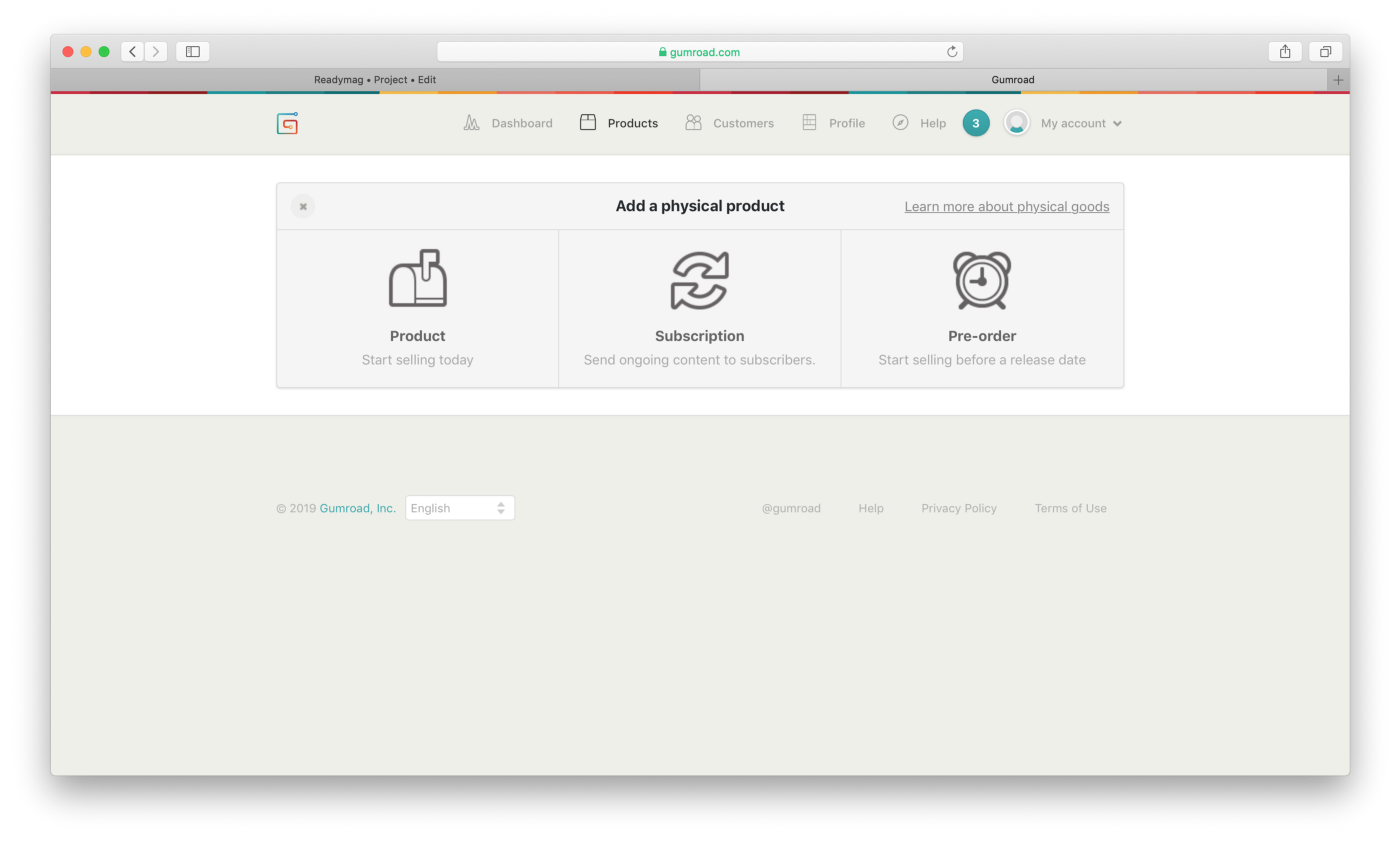
If Stripe doesn’t suit you, you can still turn your project into an online store by adding a third-party E-commerce service via code injection. Shopify, Gumroad or Ecwid can be embedded with any paid plan. But don’t forget that subscriptions to these services aren’t included in your Readymag plan costs.
Establish direct contact with customers
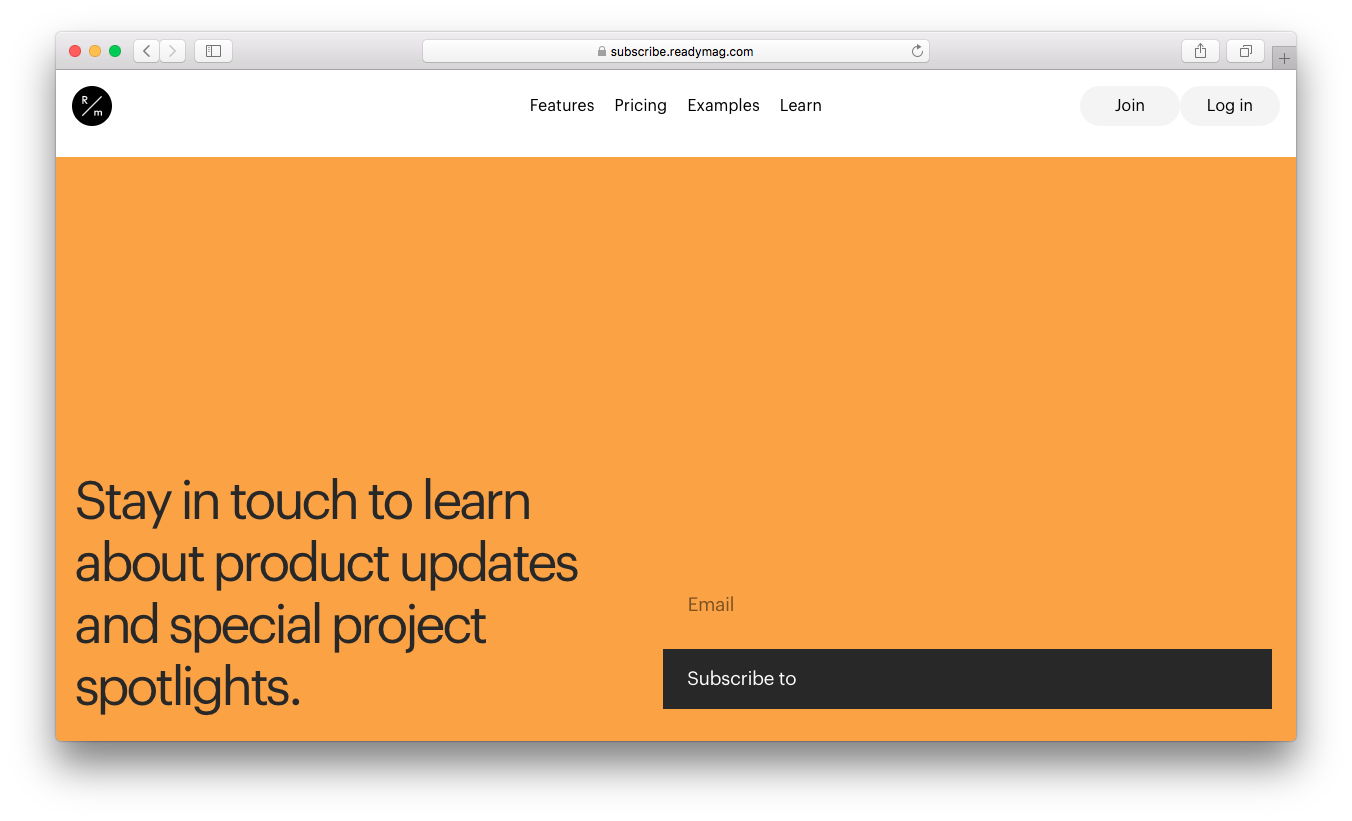
Readymag provides its own Form widget, which allows you to collect email addresses. This makes it easy to start a newsletter for your shop, so that you can keep customers updated on products, discounts, or sales.
In addition to emails, you can receive written feedback. After users submit their answers to a form, you can respond with a message or redirect them to another page of your project, or open another website.
You can also incorporate some external form services. For instance, if you have a paid MailСhimp account, you can embed a signup form on your website. Customize the form, or combine it with special offers to attract new subscribers — their names and emails will be collected directly in a new MailChimp list.
Promote on social media and track conversions
After setting up merchant functionality for your project, don’t forget to enable analytics so that you can track the performance of your advertising efforts. Users of Creator and Professional plans can embed Facebook, Instagram, and Pinterest pixels into their projects via code injection to maximize their ad budgets.
Both options use pieces of code to collect tracking conversions from ads (on Facebook or Pinterest, respectively), optimize ads, build targeted audiences, and remarket to people who have already taken some action on your website. It works by placing and triggering cookies that track users as they interact with your website and ads.
Google Analytics is implemented on Readymag by default, so you simply need to specify a unique tracking ID in your project or profile settings.
Bonus ideas: maps, commentary system & chatbot
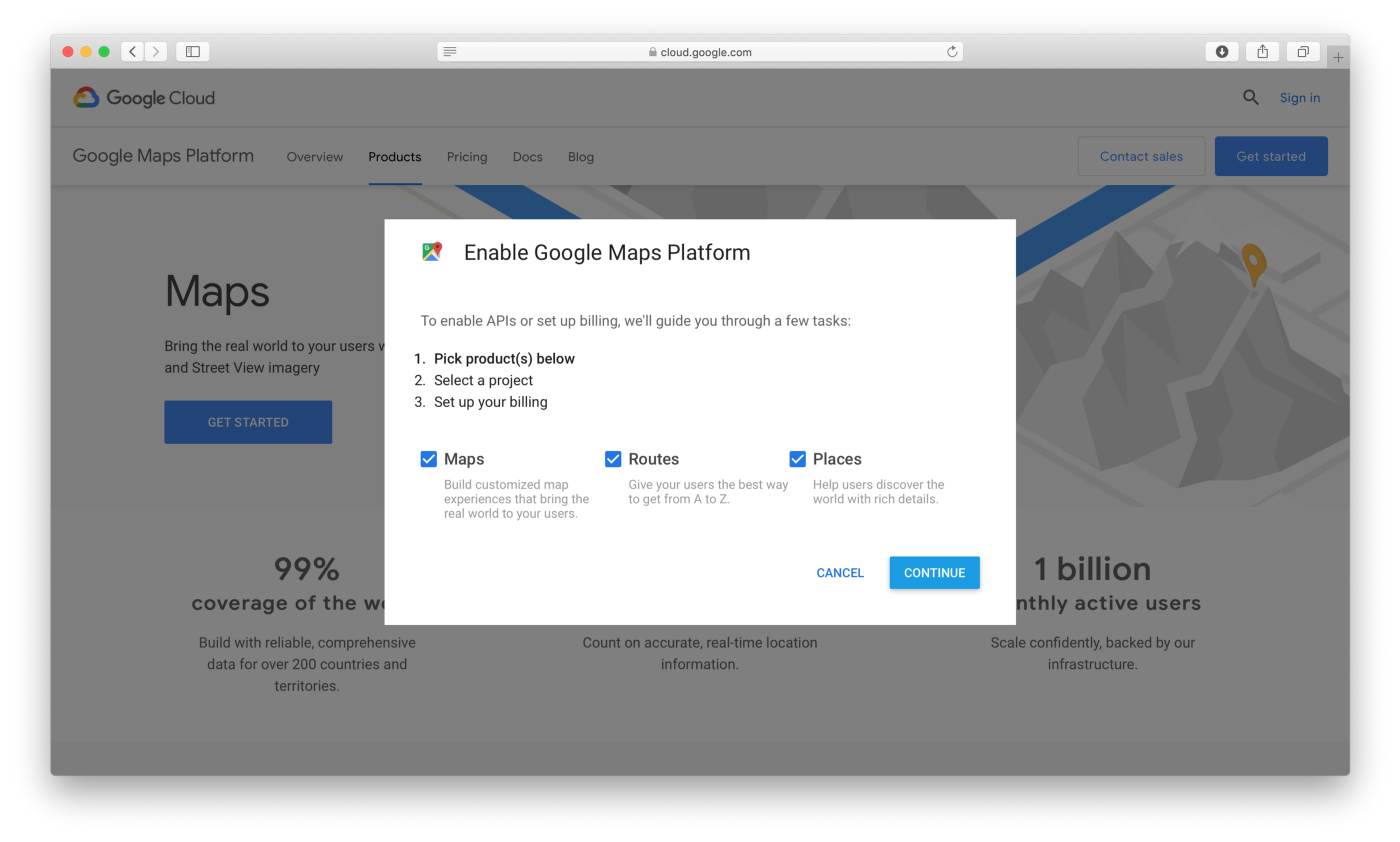
If you have a warehouse or a physical shop where you invite customers, make sure you’ve enabled the Maps widget to help find you.
If you’d like to enable user commentary for whatever products you might be selling, you can also embed Disqus via code injection. The system supports emojis, antispam and moderation tools, analytics, email notifications, and mobile commenting.
Occasionally, before customers commit, they might like to talk it through. Chatbots can be ideal for this purpose. There are a number of Readymag-compatible chatbots available, Intercom being among the most popular. Another option is Livechat. Both can be added via code injection.
Note: some of screenshots and videos in this post reference our old user interface, so the current Readymag workflow may not look identical.
Already finished making a shop with Readymag? Message us — we’re interested to know about your success story!
Explore other stories from Readymag.